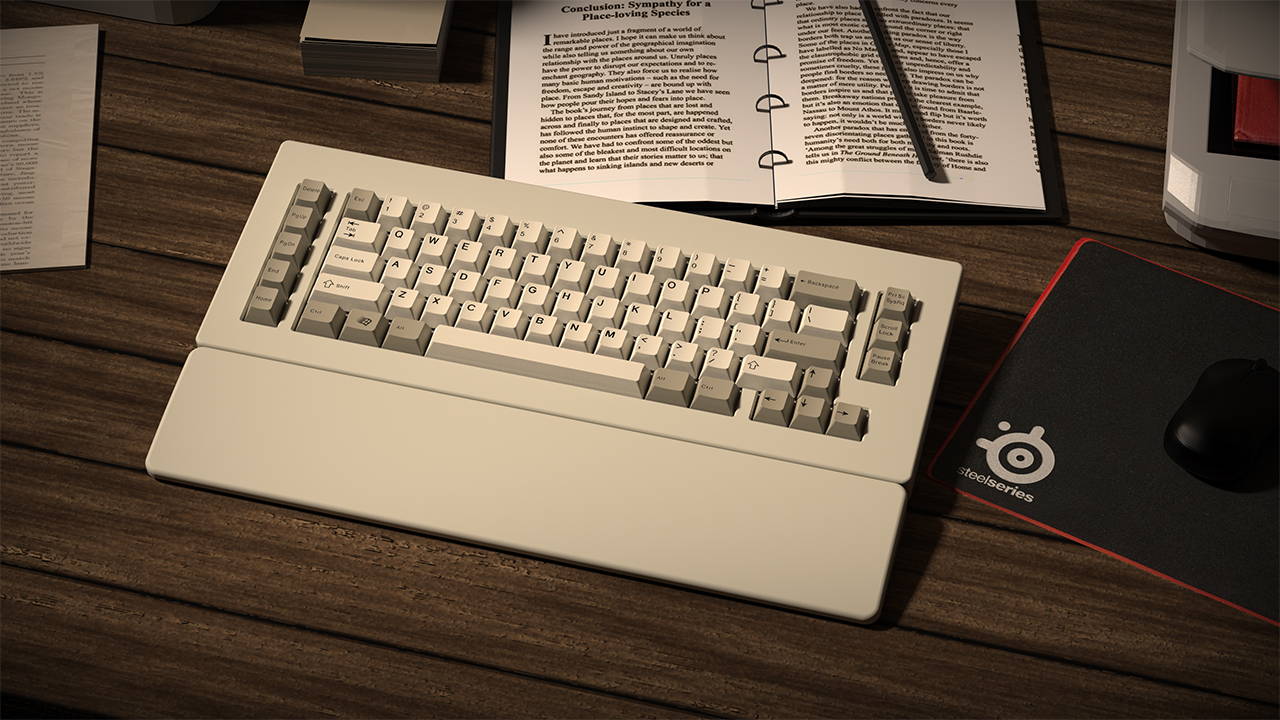
Here's how to install keycaps on your keyboard:
1.Remove the existing keycaps: If you're replacing existing keycaps, you'll need to remove them first. You can use a keycap puller to do this, which is a small tool designed to help you remove keycaps without damaging your keyboard. Simply place the keycap puller over the keycap you want to remove, wiggle it gently from side to side, and then pull it off.
2.Place the new keycaps: Once you've removed the old keycaps, it's time to place the new ones. Simply align the keycap with the stem on your keyboard and press it down firmly until it clicks into place. Make sure the keycap is flush with the rest of the keyboard and doesn't wobble or feel loose.
3.Repeat for all keys: Continue this process for all the keys you want to replace. If you're installing new keycaps on an entire keyboard, you may find it helpful to work row by row or section by section to ensure that you don't miss any keys.
4.Test the keys: Once you've installed all the new keycaps, it's a good idea to test each key to make sure it's working properly. Type out a few sentences and make sure all the keys register and feel comfortable to type on.
That's it! With these simple steps, you can easily install new keycaps on your keyboard and give it a fresh new look.


